This is my fifth guideboat so you would think constructing a bottom board would be a piece of cake by now. After all I have templates for both the top and bottom of the board so laying it out should be easy.
I have clear white pine stock from Hearne Hardwood that was milled to 5/8′ thick. I will have to scarf the two 8 foot boards to get enough length for the finished bottom board. Scarfing has never been a problem before. I rough cut out the two haves, cut the 6 inch scarf and glue them together.
So off we go. I cut the two halves to closely match the template, apply the scarf, and glue them together.
Then I noticed that something didn’t look right. When I sighted down the board it just didn’t look true. I got out a length of twine and ran it from one end of the board to the other. If all was true it should pass right over the center of the board. It didn’t! No matter how hard I tried I couldn’t get the line to pass over the center of the board. How frustrating!
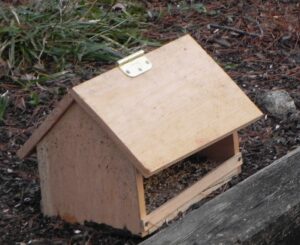
Well, you can’t start building a guideboat when its foundation is wacky. So the first try at a bottom board was scrapped. What was left became a bird feeder.
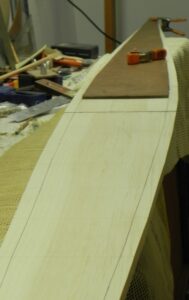
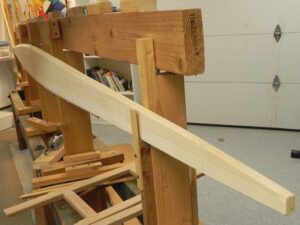
So lesson learned. This time I will leave some wiggle room on each side of the scarf. As I call it “leave it fat”. Here it is below with the template lying on top.
This bottom board went together without incident.
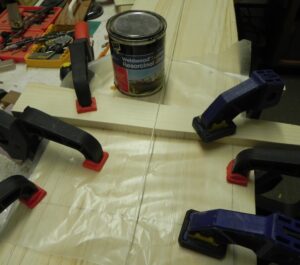
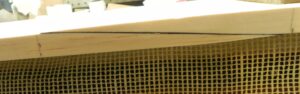
The above shows two halves of the scarf being glued together. I used resourcinol glue since it is pretty much impervious to any agent, chemical or other harsh condition. The glued scarf cross section is shown below.
The next step is to layout the top of the board using my template, and trim it to shape. Then the board is turned over and the template for the bottom of the board used to trace its shape on the board. Using a bench plane I remove the excess to form a rolling curve along the edge of each side of the bottom board. The angle of the bevel along the edge of the bottom board will match the slope of each rib as you go from midships to stem.
I suspended the finished bottom board, with holes drilled for the screws that will hold the ribs in place, on the strong back until it is needed.
Next time we make the guideboat furniture.