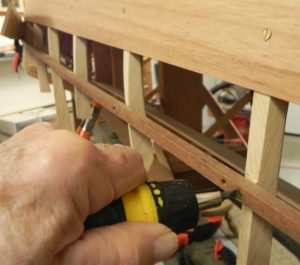
At last I have arrived at the final round of planking my guideboat. It seems that it has been a particularly difficult journey. With great relief I remove the batten that has been used to maintain the proper spacing between ribs. I can now fasten the last round of planking. Here we go!
With each planking round I have noticed that, at the stems, the upper edge of each plank has been slowly, but steadily, creeping upward. Viking ships were famous for this upward sweep of their hulls. According Durant the Vikings called this upward sweep snye. Here is an example of snye. It is on a model of a Vikings ship that I built many years ago.

As I wrote earlier, snye on a guideboat helps it to navigate the rough waters that can spring up on Adirondack lakes, especially those with northeast/southwest orientation. Even in summer or early fall cold fronts can bring gale force winds that howl down those lakes and throw up some monster waves.
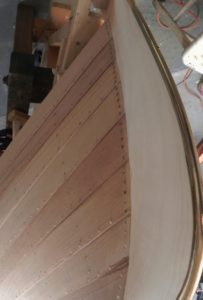
Here is what snye looks like on a guideboat.
This snye, or upward shift of the upper edge of successive planks, requires that we now must use three planks on each side for round eight. How come? Well, if you wanted to use just two planks for each side, each plank would have to be extraordinarily wide. Here is one plank of the three needed for one side of round eight. It is for the hood end or one of the two planks that butt up to the stem. Now we have to use two scarfs on each side to join the planks together.
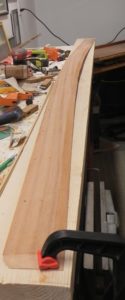
Notice that it has sort of a “hook” at the upper end. We will plane the feather edge into one edge. The good news is that since this is the final plank we need apply the feather edge to one side only.
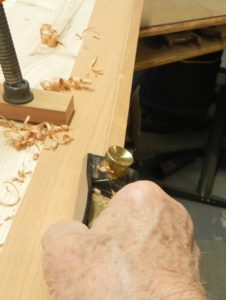
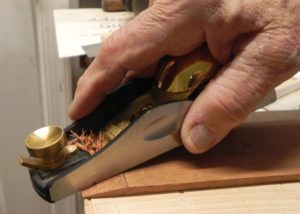
I am using my Lie Nielsen low angle block plane. I love it! This tool has been indispensable through each stage of building this boat. Made in the USA in Maine it is a gem. It stays sharp indefinitely and can be dialed in to take the thinnest shaving. It is the only tool that worked to shape the stems as you will see.
Now the tedious process of fitting the plank to the previous one. It is a back and forth process. Check the fit, make adjustments, for numerous iterations.
Once the fit seems OK, then I will cut the scarf into the plank. We start by using a chisel, or slick, to start the process.
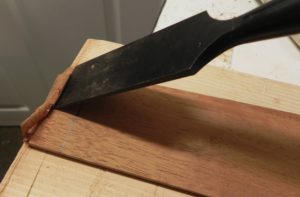
Next comes the low angle block plane.
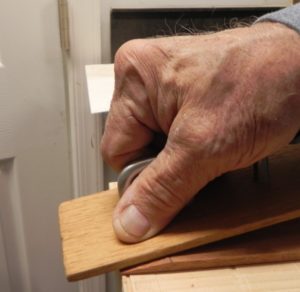
Finally a touch up with the sanding long board and we are ready to go.
Even at round eight there is some curvature to the hull. So I will use flash molding to give enough curvature to the plank to make it conform. As you may remember flash molding uses a thermal heating blanket to “steam in place”. The plank is first sprayed with water, then wrapped in aluminum foil, and the thermal blanket laid on top. This “sandwich” is heated to 300 degrees F and then the lower edge clamped down. The plank retains its new shape once it cools down.
I have used shims placed between the plank and ribs to give a little extra curve to the plank to allow for spring-back.
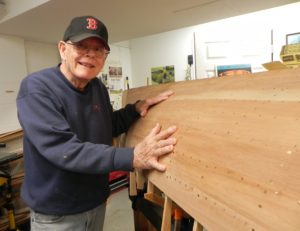
So, at last, we arrive at a fully planked Adirondack guideboat. As the video at the Adirondack Museum showing Willard Hanmer building a guideboat puts it, we are now about half done. Really! Yikes!
Next time-New shoes